
The Expensive Mistake That Started It All
Two years into my role as assistant branch manager, I stared at my closet on a Sunday night and realized I owned at least a dozen “work appropriate” pieces I had worn exactly once. That silk blouse? Beautiful in the store, impossible to iron before 7 AM meetings. Those trendy trousers? Looked great sitting down, rode up constantly when I walked clients to the door. The total wasted money was painful.
That’s when I created my rule: anything over $50 gets tracked. No exceptions. What started as a frustrated spreadsheet has become one of the most valuable systems in my life.
Why Numbers Tell the Truth About Your Closet
As a former banker, I trust data more than feelings. “This feels like a good purchase” is an emotion. “This blazer has been worn 47 times and now costs $1.80 per wear” is a fact. The shift in mindset was immediate.
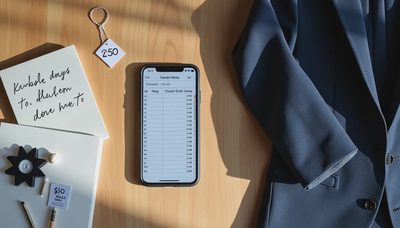
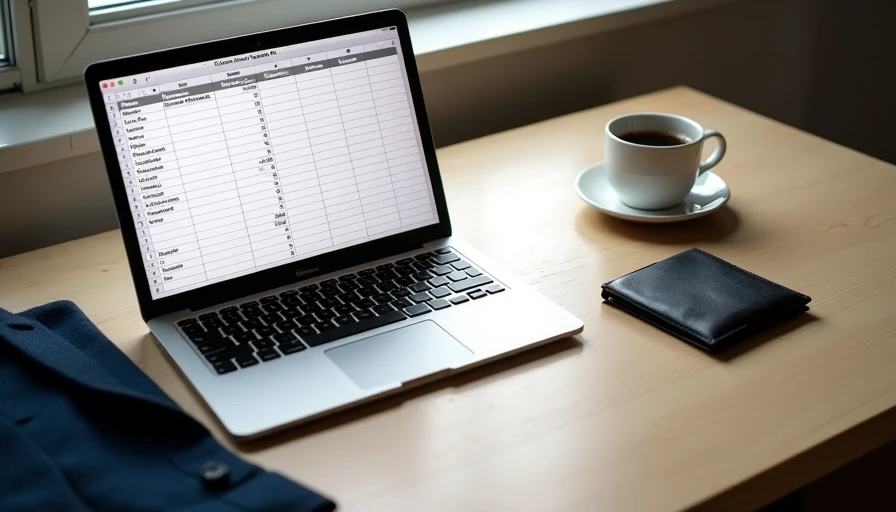
I opened a simple Google Sheet (nothing fancy — you can do this in any spreadsheet app). Columns: Item, Purchase Date, Cost, Category, Wears to Date, Cost Per Wear, Notes. Every time I buy something over $50, it goes in. Every time I wear it, I add a tally. The math does the rest.
How My Tracking System Actually Works
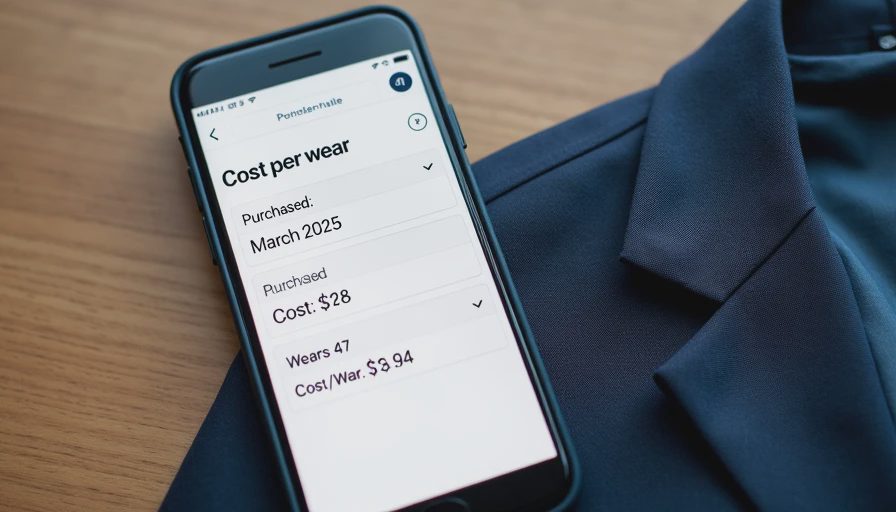
Here’s the exact process I still use today:
Step 1: The $50 Rule
If it’s under $50 and I love it, I buy it freely. Above $50? It earns a permanent row in the spreadsheet.
Step 2: Immediate Entry
Right after purchase (usually still in the parking lot), I log it. Photo of the item, price, where I bought it, why I thought I needed it.
Step 3: Weekly Tally
Every Sunday evening while the house is quiet, I flip through my week and add wears. It takes four minutes.
Step 4: Quarterly Review
Every three months I sort by Cost Per Wear. Anything above $4 per wear gets serious side-eye. Above $6? It’s on notice.
The magic isn’t in the spreadsheet. It’s in how the numbers change your future decisions.
What the Data Revealed About My Shopping
In the first year, the spreadsheet showed me some brutal truths. That “investment” camel coat I bought on sale? Worn twice in 14 months. Cost per wear still over $35. The reliable black pants I almost didn’t buy because they seemed boring? 83 wears and dropping below $2 per wear.
I started noticing patterns. I overbought blouses but under-bought good basics. I fell for “statement pieces” that looked amazing on the hanger but never made it out the door on busy mornings with Ivy asking for pancakes.
Real-Life Wins from Tracking
Last summer I needed a new work dress for a big regional meeting. Instead of impulse shopping, I checked my spreadsheet first. I already had strong blazer and pants performance. What I needed was something versatile. I found a simple sheath dress that has now been worn 28 times in 11 months. Cost per wear is excellent, and it mixes with pieces I already own.
Another win: I stopped buying “maybe” items. When something is over $50, I ask myself the tough questions in the fitting room. Will this survive a full day of meetings? Can I sit in it for two hours without adjusting? Does it work with at least three things I already own?
How This System Helps Busy Professional Women
You don’t need to be obsessive. The beauty is in its simplicity. As a working mom in East Nashville, I don’t have time for complicated routines. This system respects reality — morning chaos, client meetings, school drop-offs, and weekend farmer’s markets.
It also removes guilt. When I do buy something expensive that performs well, I celebrate it. That perfect blazer that survived 200+ client meetings? It’s earned its place and then some.
Setting Up Your Own Simple System
You can start today with zero fancy tools:
Create a spreadsheet or even use the Notes app on your phone.
List your existing pieces over $50 and estimate past wears (be honest).
Commit to logging new purchases immediately.
Review monthly at first, then quarterly.
The goal isn’t perfection. It’s awareness. When you see the actual numbers, your shopping brain starts making better choices automatically.
The Freedom That Comes With Knowing
The best part? I now shop less but enjoy it more. I buy fewer items, but they’re the right ones. My closet is calmer. Getting dressed in the morning is faster. And I’ve saved thousands of dollars that used to disappear into regret purchases.
My husband Derek even jokes that my spreadsheet is the most romantic thing about me — because it means I stop coming home with bags of clothes I’ll never wear.
Your Turn
If you’re tired of staring at clothes you barely wear, start tracking. The numbers don’t lie, but they also don’t judge. They just show you what’s actually working in your real life — the one with early meetings, kid activities, and Nashville humidity.
Good clothes, no drama. Sometimes that means being honest about what’s earning its hanger.